I am not a seamstress. I barely use my sewing machine. In fact, I usually tell people that my sewing machine and I have called a truce. I don’t use it and it doesn’t make me angry. But I had bought a bunch of new pants for Bones this summer (about 5 pr) and he’s never worn any of them. They all needed hems.
When his mom was here in September, she showed me what she determined after 20+ yrs of sewing, was the easiest way to do it. That process (or what I understood of it), follows.
The Hardware:
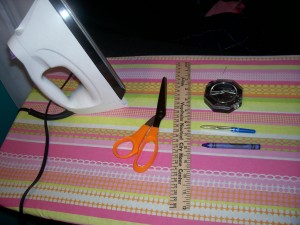
You will need:
- An iron
- a place to iron (a board is not necessarily required, but is easy)
- a ruler
- a seam ripper
- scissors
- a crayon or fabric pencil
- some pins
- thread
- needles or a sewing machine (with a needle in it, of course)
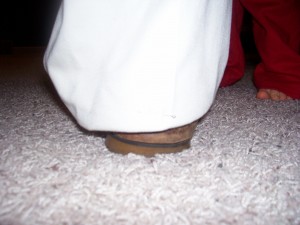
First, put fold the cuff under at the length that looks right while the person is wearing the shoes they would normally wear with it and standing how they would (hands in pockets, waist down by their knees, whatever :D). Pin it.
Okay, it’s not the best pic but my daughter desperately wanted the camera. Since Bones wears both his deck shoes (pictured) and a taller pair, I measured using the pants most likely to result in walked-off hems and then checked on the other pair to make sure they weren’t too short. I left it long, knowing that after two pairs done, I tended to err on the side of too short with my seam allowances. If you are more accurate than me, I have read in several places that hems should be 3/4″ above the floor.
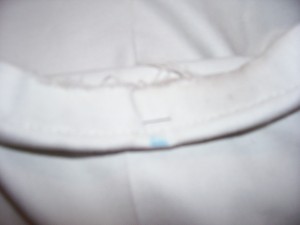
Have the person (CAREFULLY!) step out of the pants with the pin still in and a mark drawn where you want the new hem to be. Turn them inside out. Yes, I know my picture doesn’t show that. I messed up on the first two pair :).
I apologize for the blurry pics. I think Lil’ Bit got fingerprints on the lens.
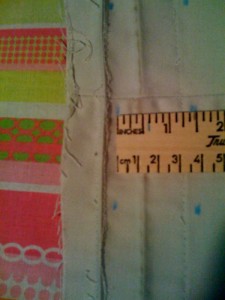
From the fold that you would like to be the bottom of the new hem, measure 1-1/5″ and draw a mark.
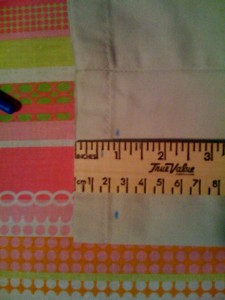
Figure out how far that mark is from the already finished edge. If this mark is in between the existing hem and the existing sewing, you will need to use your seam ripper. Measure & mark all the way around. Use these marks to cut off your excess fabric. This is your line to cut.
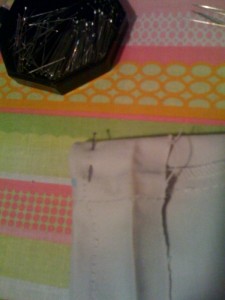
Measure 1-1/2″ from the new cut edge and pin all the way around. Press with an iron to flatten out old folds (if necessary) and crease the new edge.
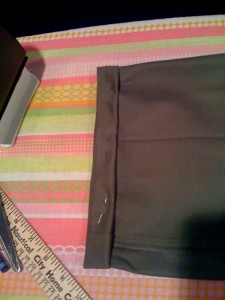
Take out the pins and fold the cut edge inside and re-pin to hold hem in place. Yes, I realize it’s a different pair…I kept forgetting to take pics. After you’ve pinned the fabric in place, go to your torture machine, ahem, I mean SEWING machine and sew all the way around the pant leg. Make sure not to sew the hole closed. No, I didn’t. But I almost did.
Sigh with relief. Oh wait, I still have 4.5 more pair to go :(. Do you have better tips? Was it clear as mud? Let me know!
This post is linked to Tackle it Tuesday at 5 Minutes for Mom and Works-For-Me Wednesday at We Are THAT Family.

niki
11 November 2009 at 5:18 PM (15 years ago)I cannot sew to save my life but I recently decided enough was enough and was tired of paying tailors to hem my pants. So I decided to try hemming tape. I iron it on and it lasts a really long time!
🙂
[Reply]
Karen
10 November 2009 at 6:56 PM (15 years ago)You’re braver than I am. I understood your directions just fine, but no way am I trying to hem pants on my own….
[Reply]